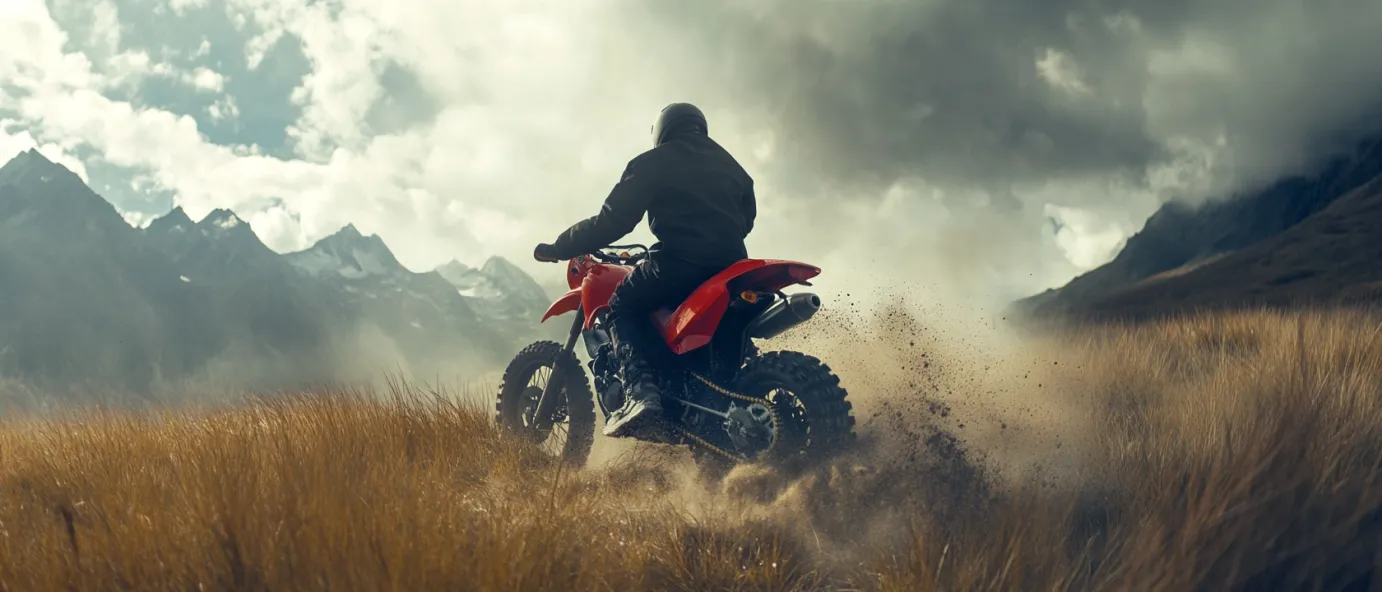
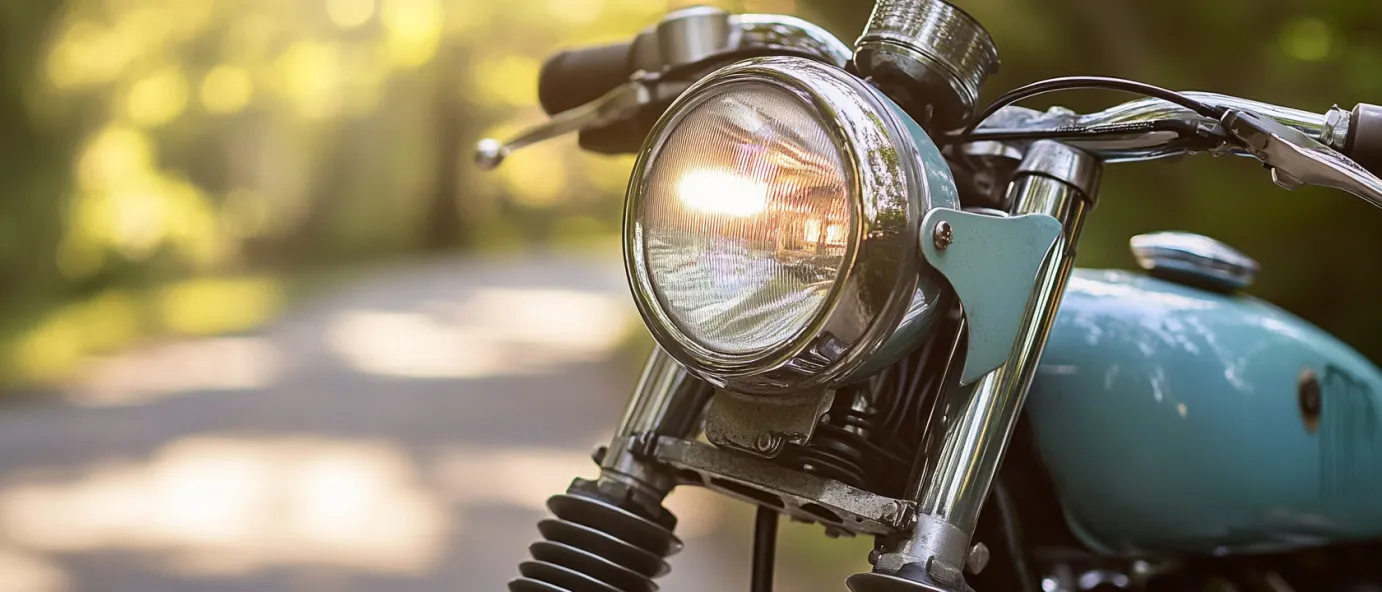
Adding lights to a Coleman mini bike opens up a whole new world of riding opportunities. Quality lighting lets you operate your mini bike safely at night or in low visibility conditions. Installing auxiliary lights also improves visibility to others during daylight. With some basic mechanical skills, most Coleman models can be upgraded with halogen or LED headlights along with taillights and turn signals powered by a basic electrical system.
In this article, we’ll go over headlight options, provide wiring diagrams, and outline complete installation procedures for adding both basic and upgraded lighting kits to your Coleman mini bike. Follow along to shed some light on your next ride.
Why Add Headlights to your Coleman Mini Bike?
Out of the box, most Coleman mini bikes lack any type of headlight. While intended for daylight use, having some lighting options can really expand when and how you can enjoy your mini bike:
Night Operation – Quality head and tail lights allow safely riding trails, fields, or your property after dusk. Extending ride time into the evening hours is a game changer.
Low Visibility Conditions – Added illumination helps navigate fog, dust, or other situations with reduced visibility that can occur even during the day.
Safety – Additional lights make you far more visible to others on trails, roads, or sites with vehicle traffic. Prevent accidents or conflicts.
Utility – Lights enable using your mini bike after dark for transportation or carrying out tasks around your property or farm.
Fun Factor – There’s just something extremely cool and fun about having a mini bike equipped with lights. Kids and adults love the look.
With the right lighting upgrades, your Coleman mini bike can transition from a fair weather toy to a highly capable and usable machine in any conditions. The additional safety and visibility lights provide only expand your opportunities for enjoyment.
Selecting Mini Bike Headlights
The first step is choosing appropriate headlights and other lighting components that are compact and bright enough for a mini bike application. Here are some things to look for:
- Compact Size – Scale down to reasonably sized lights to fit the limited space on mini bikes versus full size motorcycles.
- Decent Lumens – Pick headlights in the 500+ lumen range to properly illuminate the trail ahead. LED lights offer the best luminosity for their size.
- 12V DC Power – Stick with basic 12V DC lights designed for powersports vehicles. They’ll work with the 12V mini bike electrical system.
- Off Road Durability – Opt for headlights with durable housings that can withstand trail debris and minor impacts.
- Mounting Options – Consider a bar mount, fork mount or flexible stem mount to position the headlight on your particular mini bike model.
- Beam Pattern – A nice focused hot spot with wider dimmer peripheral light works well. Avoid overly narrow or diffused beams.
- Wiring Kit – Many lights include a basic wiring harness, switch, relay, etc. to simplify installation.
Focus on quality over sheer luminosity. A 500 lumen LED light will appear far brighter than a 1000 lumen halogen. With compact size being key, LEDs are the best option unless you need to illuminate a huge area.
Wiring Diagram Basics
Adding lights requires wiring them into a basic 12V DC electrical system. Here are the key components:
- Battery – A 12V motorcycle battery provides power. It’s kept charged by the engine’s magneto and charging coil while running.
- Headlight – The headlight, wiring, and high beam/low beam switch get connected to power and ground.
- Taillight – The rear taillight, brake light, and turn signals are wired to the appropriate controls.
- Wiring – Use 14-16 gauge automotive grade wiring. Proper connections and splices are critical.
- Fuse – A 10-15A fuse protects from shorts and electrical hazards. Install inline near the battery.
- Ignition Switch – Some kits wire lights through the ignition switch to keep them off when the engine is off.
- Ground – Everything connects back to a common vehicle ground for completing the circuit.
Follow included wiring diagrams, use quality connectors, avoid shorts and take your time for safe and successful installation.
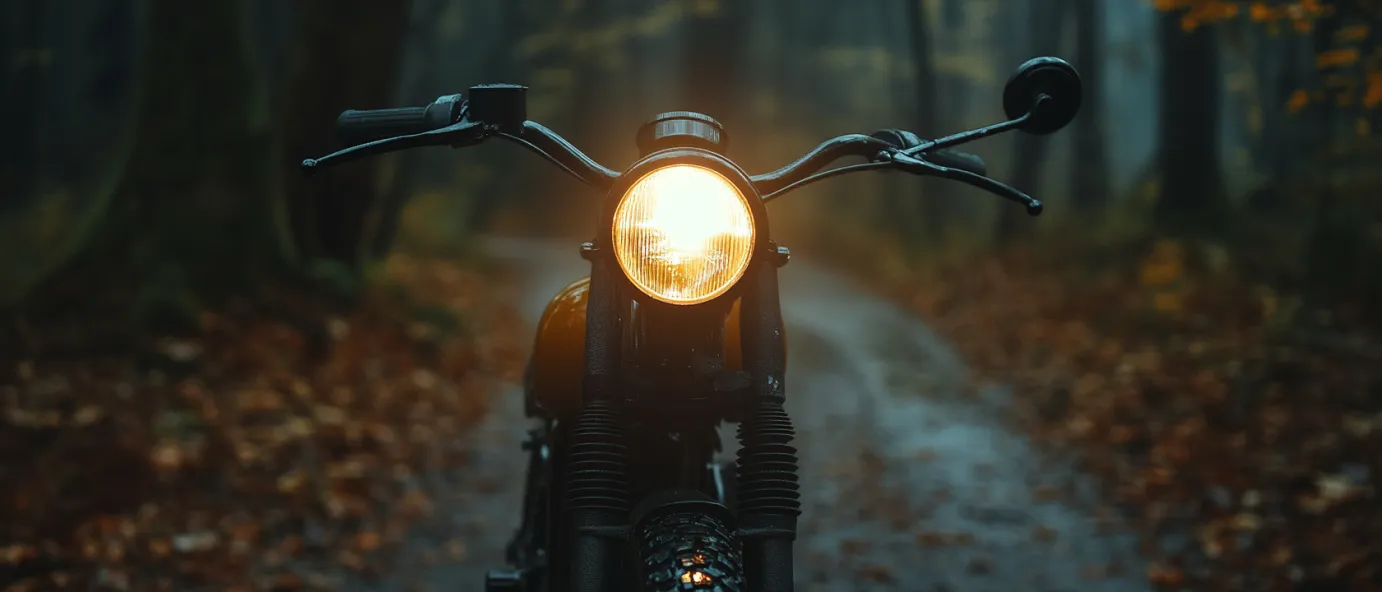
Basic Headlight Installation
With the electrical basics covered, here is a step-by-step guide to installing a basic halogen headlight on a stock Coleman mini bike:
Supplies Needed:
- 12V 35W Halogen Headlight
- Headlight Mounting Bracket
- On/Off Toggle Switch
- 10’ Lighting Wiring Harness
- Butt Connectors
- 12V Mini Bike Battery
- 15 Amp Fuse and Fuse Holder
- Cable Ties and Electrical Tape
Installation Steps:
- Mount the headlight:
- Select an appropriate location such as the front wheel fork or frame cross member. Consider wiring routing.
- Attach the mounting bracket using provided hardware or hose clamps. Check alignment.
- Mount the toggle switch in an accessible spot on the handlebars using zip ties or tape.
- Run the headlight wiring harness along the frame to the headlight. Leave some slack for suspension movement and steering.
- Connect the harness red wire to the back of the headlight. Use butt connectors and heat shrink any splices.
- Connect the black wire to a solid ground point on the metal frame. Scrape any paint for a clean ground.
- Run the harness to the toggle switch and connect the red wire to the terminal that activates when switched on.
- Connect the open terminal on the switch to the positive terminal on the battery using an inline fuse holder.
- Connect the black wire to the negative battery terminal to complete the circuit.
- Secure all wiring neatly out of the way using zip ties. Avoid any hot or rotating components.
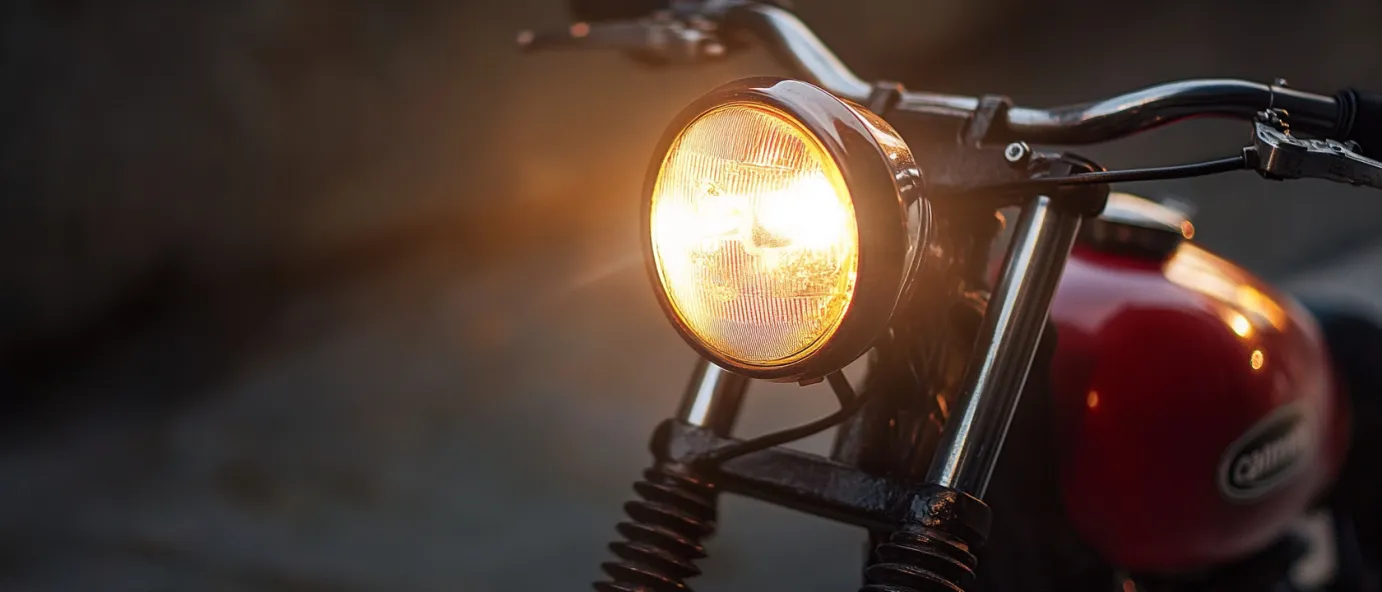
- Perform a test by turning on the switch. Check that the headlight activates. Adjust the aim as needed.
The basic installation is now complete. Be sure to run the engine and rev up the throttle to check for any wiring issues. Focus the headlight beam optimally for best visibility. Now let’s look at adding some extras.
Adding Tail Light, Signals, and Horn
For full lighting function, you’ll want to supplement the headlight with rearward facing lights:
- Tail light – Illuminates the rear and acts as a brake light with increased brightness.
- Turn signals – Flash when activating left/right handlebar switches.
- Brake light switch – A switch on the brake lever activates the bright brake light mode.
- Horn – Loud mini bike horns alert others of your presence.
Wiring is straightforward using a harness kit. The included diagram illustrates a typical setup:
[Wiring diagram illustration showing headlight, tail light, turn signals, horn etc.]
With this expanded system, you can operate your mini bike properly and safely like a full size motorcycle. Use quality waterproof LED lights for maximum visibility and minimal power draw.
Installing an Upgraded LED Headlight Kit
For maximum performance, visibility, and style, upgrading to an integrated LED headlight kit is recommended. Here is an overview of installing a higher-end LED kit:
LED Headlight Kit Components:
- 10W CREE LED Headlight with High/Low Beam
- Color Matched Headlight Bucket Mount
- ON/OFF Switch with High Beam Switch
- Rear LED Tail Light / Brake / Turn Signals
- Handlebar Switch Control Cluster
- Wiring Harness with Relay and Fuse
- Mini LED Turn Signals
- Loud Mini Bike Horn
- Battery Pigtail Leads
Installation Steps:
- Mount the LED headlight bucket and secure it tightly.
- Install the handlebar mount switch cluster on the left grip area.
- Run wires from the headlight to the switch gear. Use included loom for a clean install.
- Connect all lighting components to the corresponding wires using diagram and labels.
- Verify a solid frame ground connection.
- Hook up the battery pigtail with in-line fuse.
- Neatly route and secure all final wiring from lights to switches to battery.
- Test each lighting function, adjust, and aim as needed.
- Finish by using zip ties to tie down any loose wires, avoiding hot or moving parts.
The complete LED kit transforms your mini bike with amazing visibility and style. Carefully follow the wiring diagram and instructions for smooth installation. Take your time and don’t cut corners.
Troubleshooting Electrical Problems
If issues arise after installing your new mini bike lighting, here are some tips for troubleshooting:
- Lights not turning on – Check fuse, battery voltage, ground connections, and wiring continuity.
- Some but not all lights working – Points to a loose wire connection or splice. Check all connections.
- Dim or flickering lights – Dirty electrical contacts, low battery charge, or faulty ground likely.
- Switch not operating properly – Ensure wired to correct terminals and making solid contact.
- Burned out bulbs – Replace bulbs with correct wattage OEM equivalents.
- LEDs not lighting – Check for reversed polarity. LEDs only operate in one direction.
Carefully visually inspect all wiring and components to find the source of any issues. A wiring diagram, voltmeter, and continuity tester are handy for electrical troubleshooting.
Tips for Riding with Lights
Once your new mini bike lighting system is installed, keep these usage tips in mind:
- Always do a pre-ride check that all lights are functioning properly.
- Adjust the headlight angle to maximize useful illumination based on load and terrain.
- Recognize that even good lighting has limitations – reduce speed and increase following distance at night.
- Keep lenses clean and replace bulbs immediately when burned out for maximum visibility.
- Consider a helmet mounted light for cornering, reading maps, or work area illumination.
- Carry spare fuses, bulbs, wire, tape, and basic tools in case repairs are needed.
- Ride cautiously around public roads and trails even with lights – be aware of other vehicles.
- Avoid “outdriving” your headlight beam at excessive speeds where hazards may appear suddenly.
With common sense riding, your lighting upgrades can provide thousands of miles and hours of added mini bike enjoyment both day and night.
Additional Lighting Accessories and Upgrade Ideas
Beyond the basics, you can really customize and expand your mini bike lighting capabilities:
- Upgrade all bulbs with higher output LED replacements as they become available.
- Add small flood lights to illuminate foot pegs, engine compartments for maintenance.
- Install reverse lights for safer backing up in the dark.
- Wire in a voltage meter to monitor your charging system and battery health.
- Add a handlebar mounted work light for tasks or trail repairs after dark.
- Consider heated hand grips and gloves to keep hands warm on cold night rides.
- Install reflective tape on number plates, side panels, rear, and helmet for passive visibility.
- Wire in relays to handle higher powered auxiliary lights without taxing the stock electrical system.
- Change turn signal and brake light flash pattern for increased attention getting visibility.
The possibilities for custom and utility lighting are nearly endless depending on your needs and budget. Just take electrical loads and charging system capacity into account when going beyond the basics.
Conclusion
Adding lighting can completely transform how and when you are able to enjoy your Coleman mini bike. Hopefully this provides the key information you need to plan, install, and operate auxiliary lighting systems safely and reliably. Always exercise caution when riding at night and invest in quality components suited to the task. Properly installed lights will provide many miles of adventures under cover of darkness that rival the fun of daytime riding. Research your specific mini bike model’s requirements, read tutorials thoroughly, and don’t be afraid to consult experts when needed. Then get ready to shine a whole new light on your mini bike journeys!